
Today we are getting personal. Like, sharing our treasured family staple chicken curry recipe, personal! I mean, if this is not personal, I don’t know what is? 😉
All you need to do is use your imagination and visualize that I have invited you to my home and you’ve come for a meal and you relished the most nurturing, delicious loving chicken curry that you will ever have (apart from the one your mom cooks, ofcourse!) Except, you are the one doing all the hard work you know – the cooking and cleaning up afterwards! haha
Oops! you just got a tiny glimpse of my evil side 🙂
Whether you intend to pack this for travel (think, summer vacations and Indian railways, if you have grown up in India) or you plan serve it to guests, this chicken curry is such a crowd pleaser! Now I cannot mention Indian railways and not get a little nostalgic here.
Carefully packed Masala Chicken (the dry-ish version of this recipe) with some lacchha parathas, sliced onions and fresh green chilli peppers on the side. Let’s just pause at this thought and cling to it for a few moments, shall we?
As a child, I would look longingly at other passengers having their meals in stainless steel trays served on-board the Indian Railways and wonder why life was so unfair and why I couldn’t eat that stuff!
Years later, I tried one of those meals. (I had to try it at least once!) and all I can say is that I am glad my parents didn’t let me eat it 😉
As a side note, I have added this to the list of good parenting skills you realize about your own parents only after you become a parent yourself:).

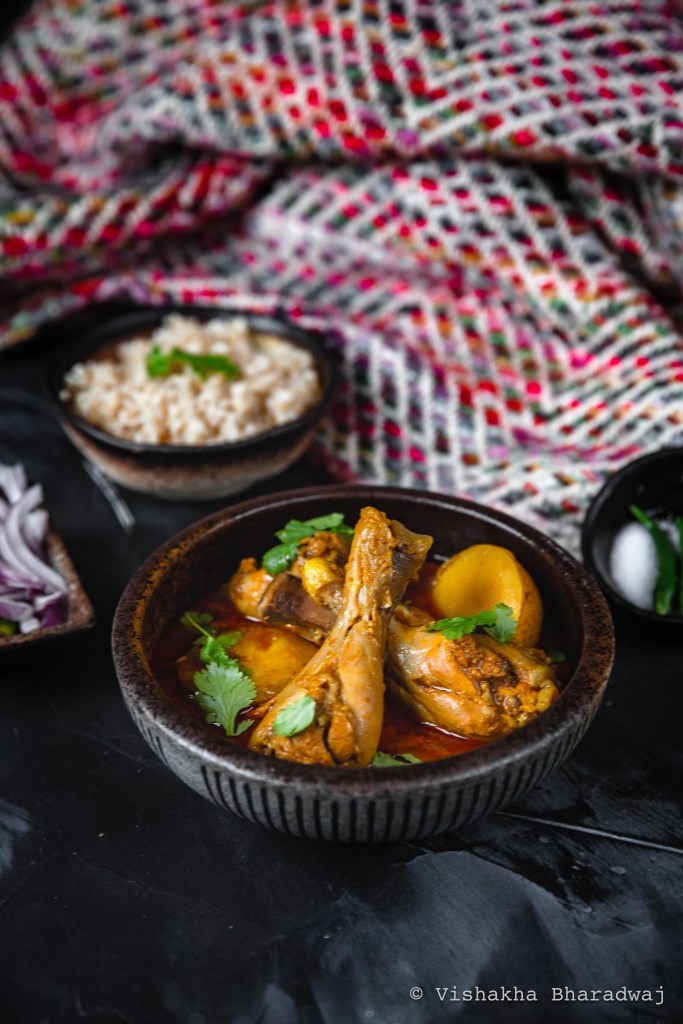
Our Family’s Favourite Chicken Curry recipe
This chicken curry can be made two ways. The recipe stays exactly the same, the only difference being, how much curry you want. If you want curry, like how I did this time, follow my recipe. If you want to have a dry version, you’ll have to cook everything in a heavy bottom pan and add water sparingly. Just enough to not let it stick to the bottom. You’ll let the chicken cook completely this way.
A fair warning: Now I know some of us do not like the idea of bones in chicken but, I would level set your expectations. The bones add to the flavour and you will just not get the same taste without bones. If you do, however, decide to make it boneless, I would recommend using chicken stock in place of water. Also, you will need to reduce the cooking time substantially (like 3-4 minutes).
Also, if you skimp on the chilli powder or not use it at all, please note that the colour will be yellow (from the turmeric) and not red at all (like in my picture). It is pretty obvious because there are no tomatoes or anything that can add a red colour to this dish other than the chilli powder.
Making this simple by dividing into 3 steps:
Step 1. Marination
Step 2: Prepare Masala & Cook the Chicken Curry
Step 3: Resting
Step 1: Marination
Ingredients for Marination:
Chicken drumstick and thigh with bones, skin removed – 1 kg; medium sized pieces, washed and patted dry. If using frozen pieces, you should thaw the chicken overnight in the fridge or in the microwave
Turmeric powder: 1 tsp
Ginger paste: 1 tbsp
Garlic paste: 1 tbsp
Ground Coriander: 1 tsp
Ground Cumin: 2 tsp
Kashmiri Chili powder (Or Cayenne Pepper: 1 tsp or as per your spice tolerance
Thick Yoghurt (or Greek yoghurt) : 1/4 cup
Salt : to taste
Mustard oil 1 tbsp
Mix all of the ingredients in a large mixing bowl., Marinate overnight in the refrigerator or for 3-4 hours at the minimum.
Step 2: Preparing the curry:
Ingredients for the curry:
Mustard Oil: 1 ½ Tbsp
Black Cardamom: 1
Cloves: 5
Bay leaves: 2
Cinnamon stick: 1 inch stick
Green Cardamom: 3 pcs, lightly pounded
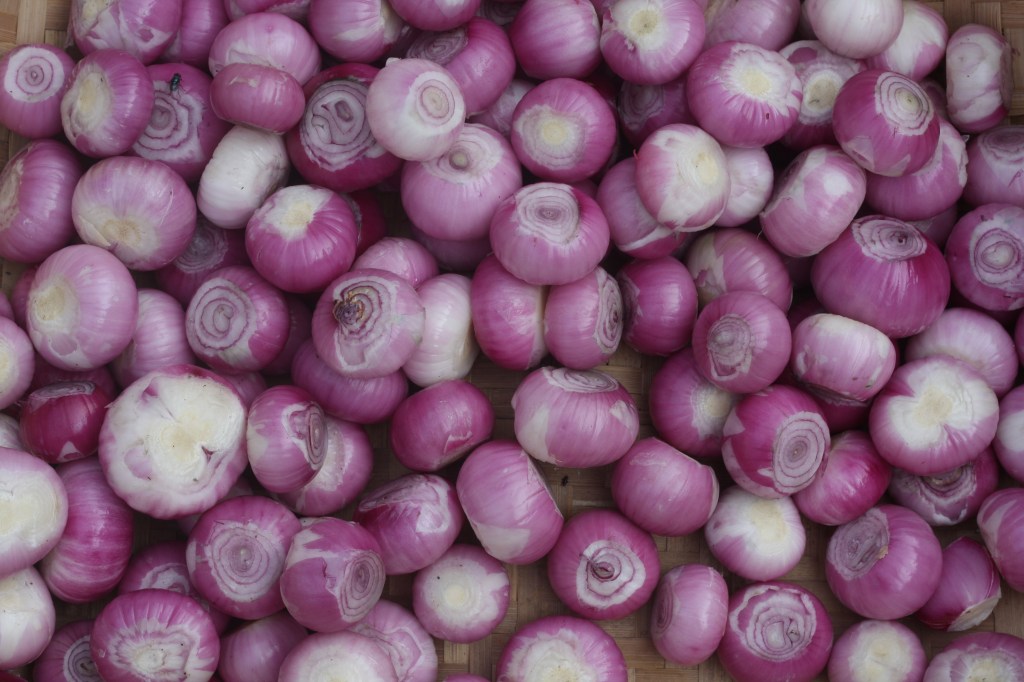
Onion: thinly sliced, 2 cups, loosely packed (About 2 medium sized)
Salt: to taste
Sugar
Onion: thinly sliced, 2 cups, loosely packed (About 2 medium sized)
Salt: to taste
Sugar: 1 tsp (optional)
Medium sized potatoes – 3, cut into halves
Garlic paste: 1 tbsp
Ginger paste: 1 tbsp
Deghi Chilli Powder: ½ tsp (add kashmiri chilli powder if you do not like the heat but still want the colour)
Indian or Thai Green chilli peppers : 3-4
Cilantro (Coriander leaves): a handful, to garnish
Method:
- Turn on the Instant pot [IP] to sauté mode. Once “Hot”, add 1 1/2 tbsp mustard oil
- Next, add the black cardamom, cloves, Bay leaves, cinnnamon stick, lightly pounded green cardamoms. Stir for a few seconds.
- Add the thinly sliced onions, a tsp of salt and a tsp of sugar. Fry until it turns golden brown. If it starts sticking to the base, use water to splash and ensure nothing sticks to the bottom of the pot, scraping with the spatula (Takes about 8-10 mins)
- In the IP, Add 1 tbsp garlic paste + 1 tbsp ginger paste. Mix until raw smell goes away (about 2 mins)
- Add 1/2 tsp Deghi Chili powder (to bring a little heat and colour. You could skip this if you do not want the heat)
- Add the marinated chicken and continue cooking for another 8-10 mins on high heat sauté setting, uncovered, stirring occasionally. Make sure nothing sticks at the bottom and always. I always have a glass of water to the rescue. Sprinkle just a little bit of water to prevent it from burning. If the heat seems too high, adjust the heat to medium.
- Add the potatoes. Continue to cook for another 2 mins
- Next add 1 ½ cups of water (more or less as you prefer)
- Cancel saute mode. Turn on manual mode for 8 mins and NPR (Natural Pressure Release).
Step 3: Resting
- When the curry is done, Add a few whole green chillies and simply let it sit for an hour before serving.
- Just before serving, garnish with freshly chopped cilantro.
- Enjoy with rice or Nan as you please.
Hope you enjoy it as much as we do!:)