A timeless ritual: Ghugni

IMG_7843-2

During my childhood years, there were many practices that were religiously followed at home. As we grew up, moved places, these rituals kept evolving and eventually there were a few such rituals which stood the test of time. One such ritual was that of an evening snack called Ghugni. It is a ritual which is still in place and practiced at least once a week in my parents home.

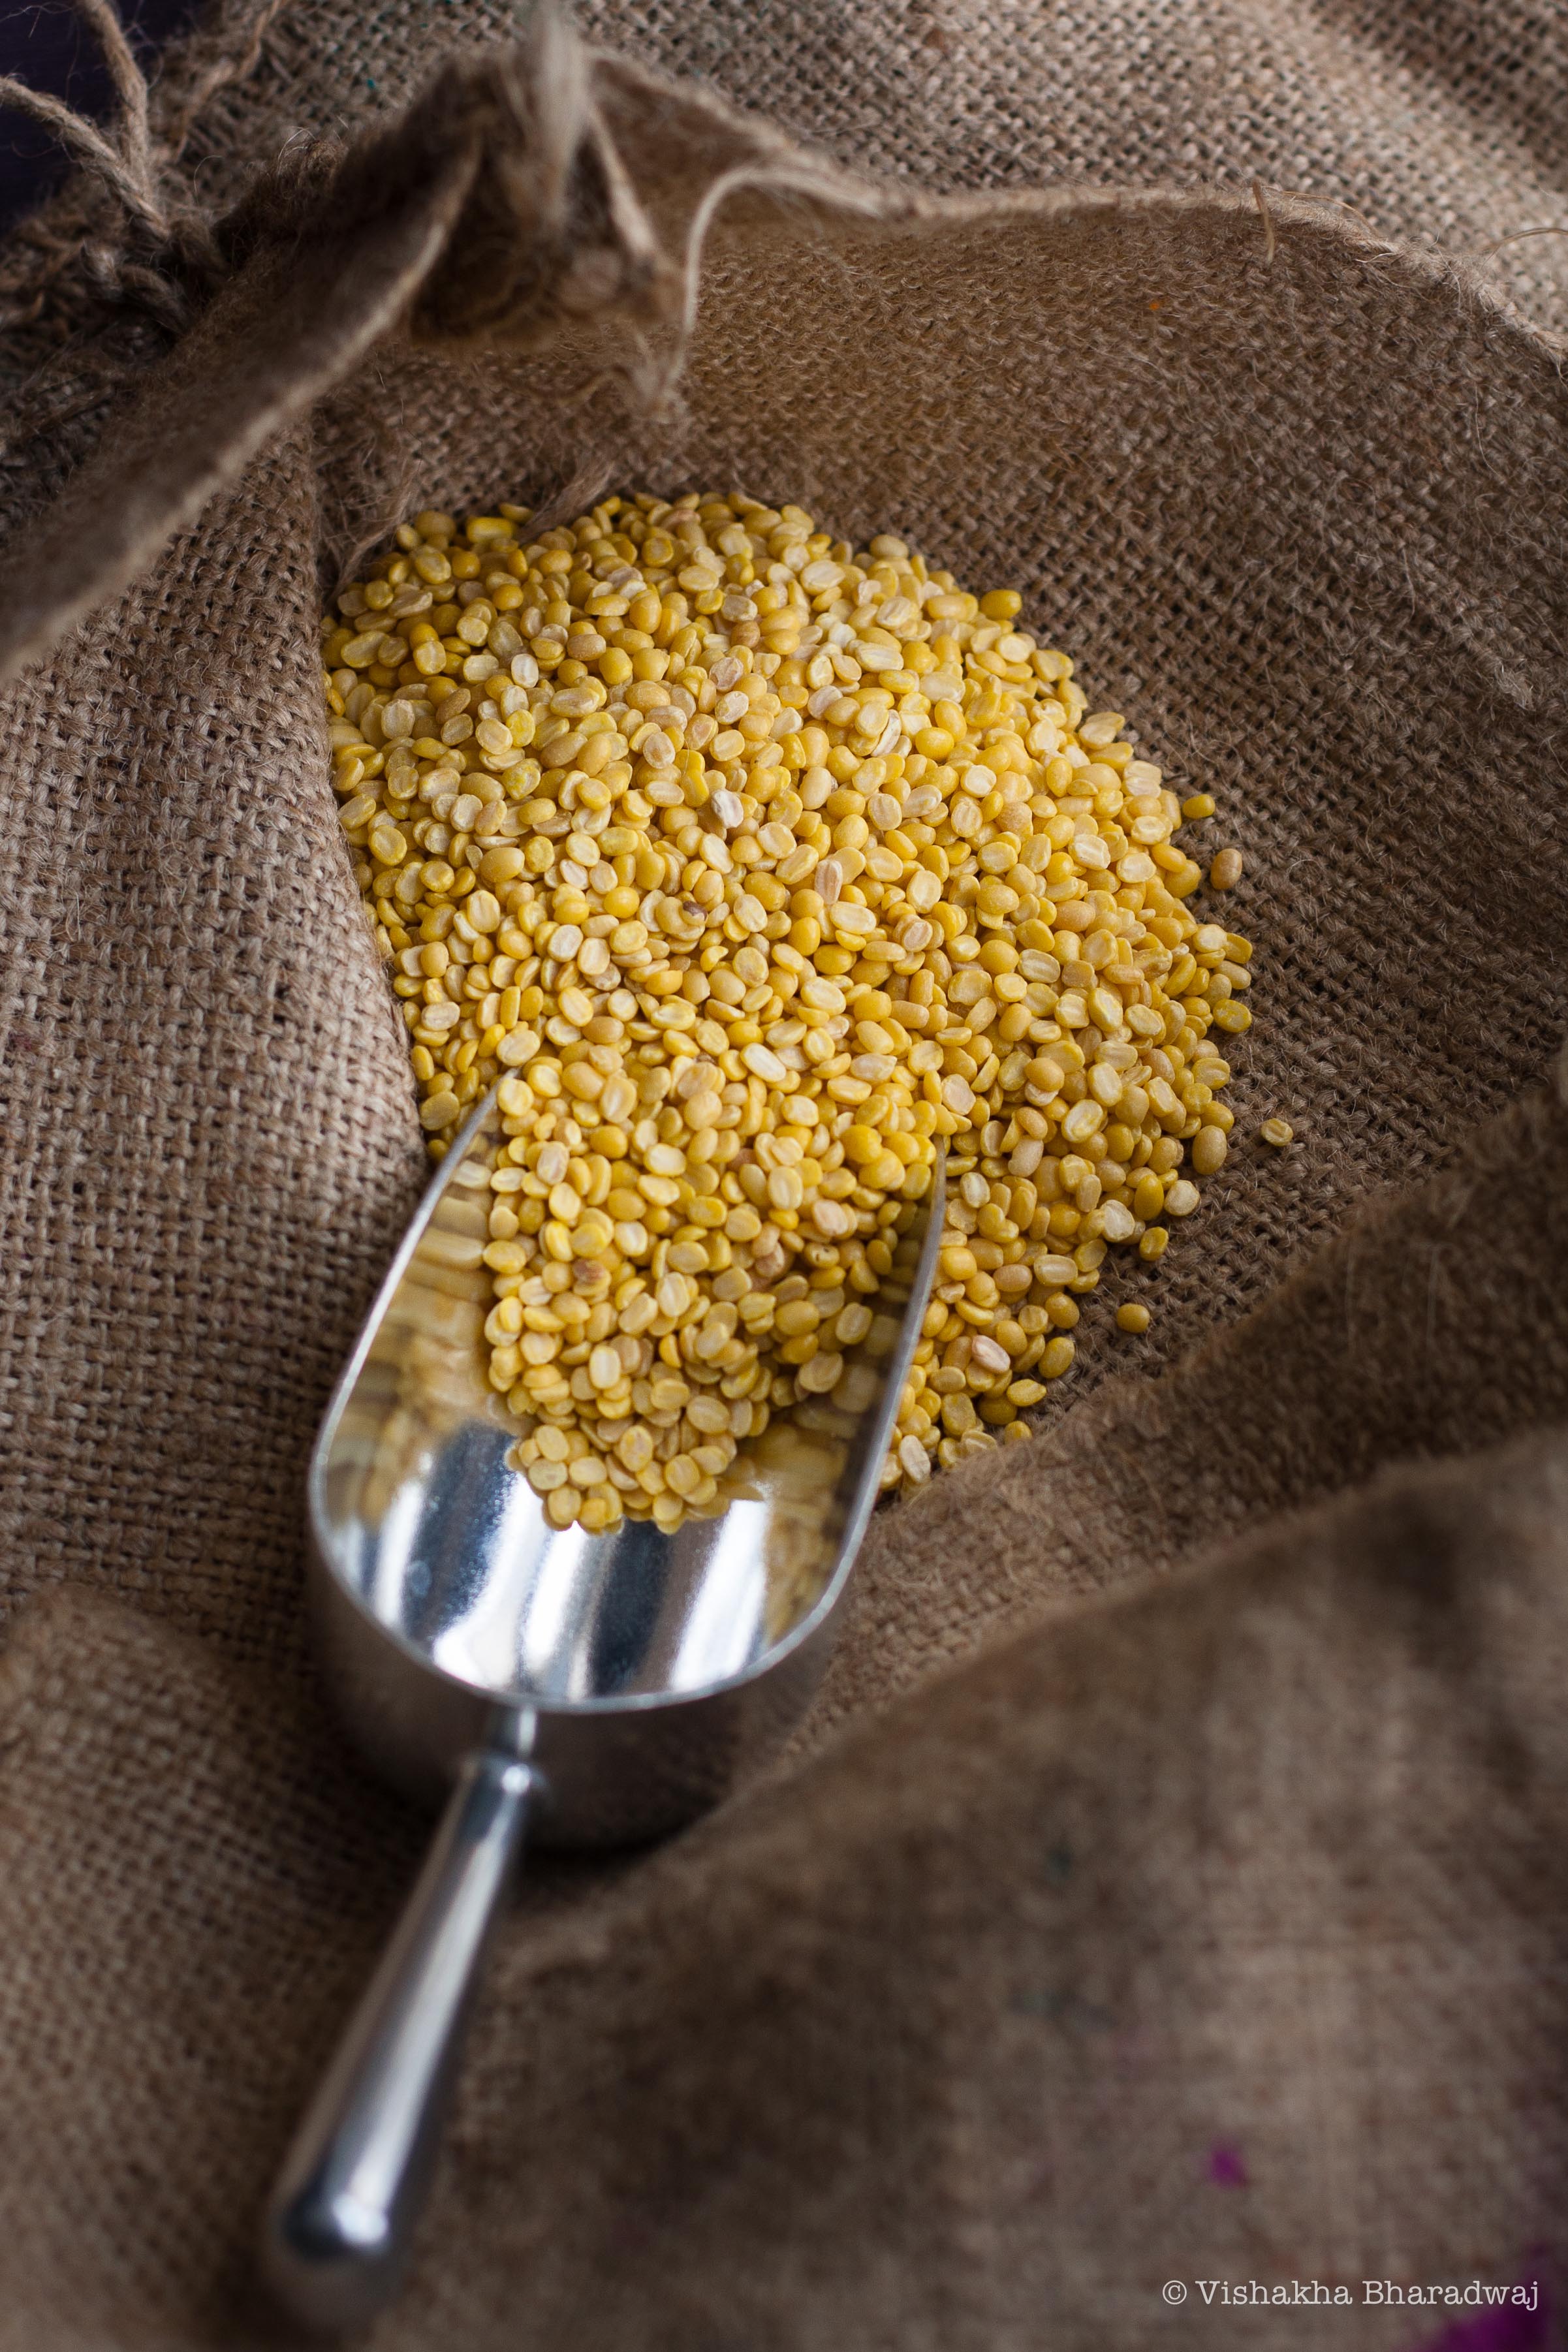
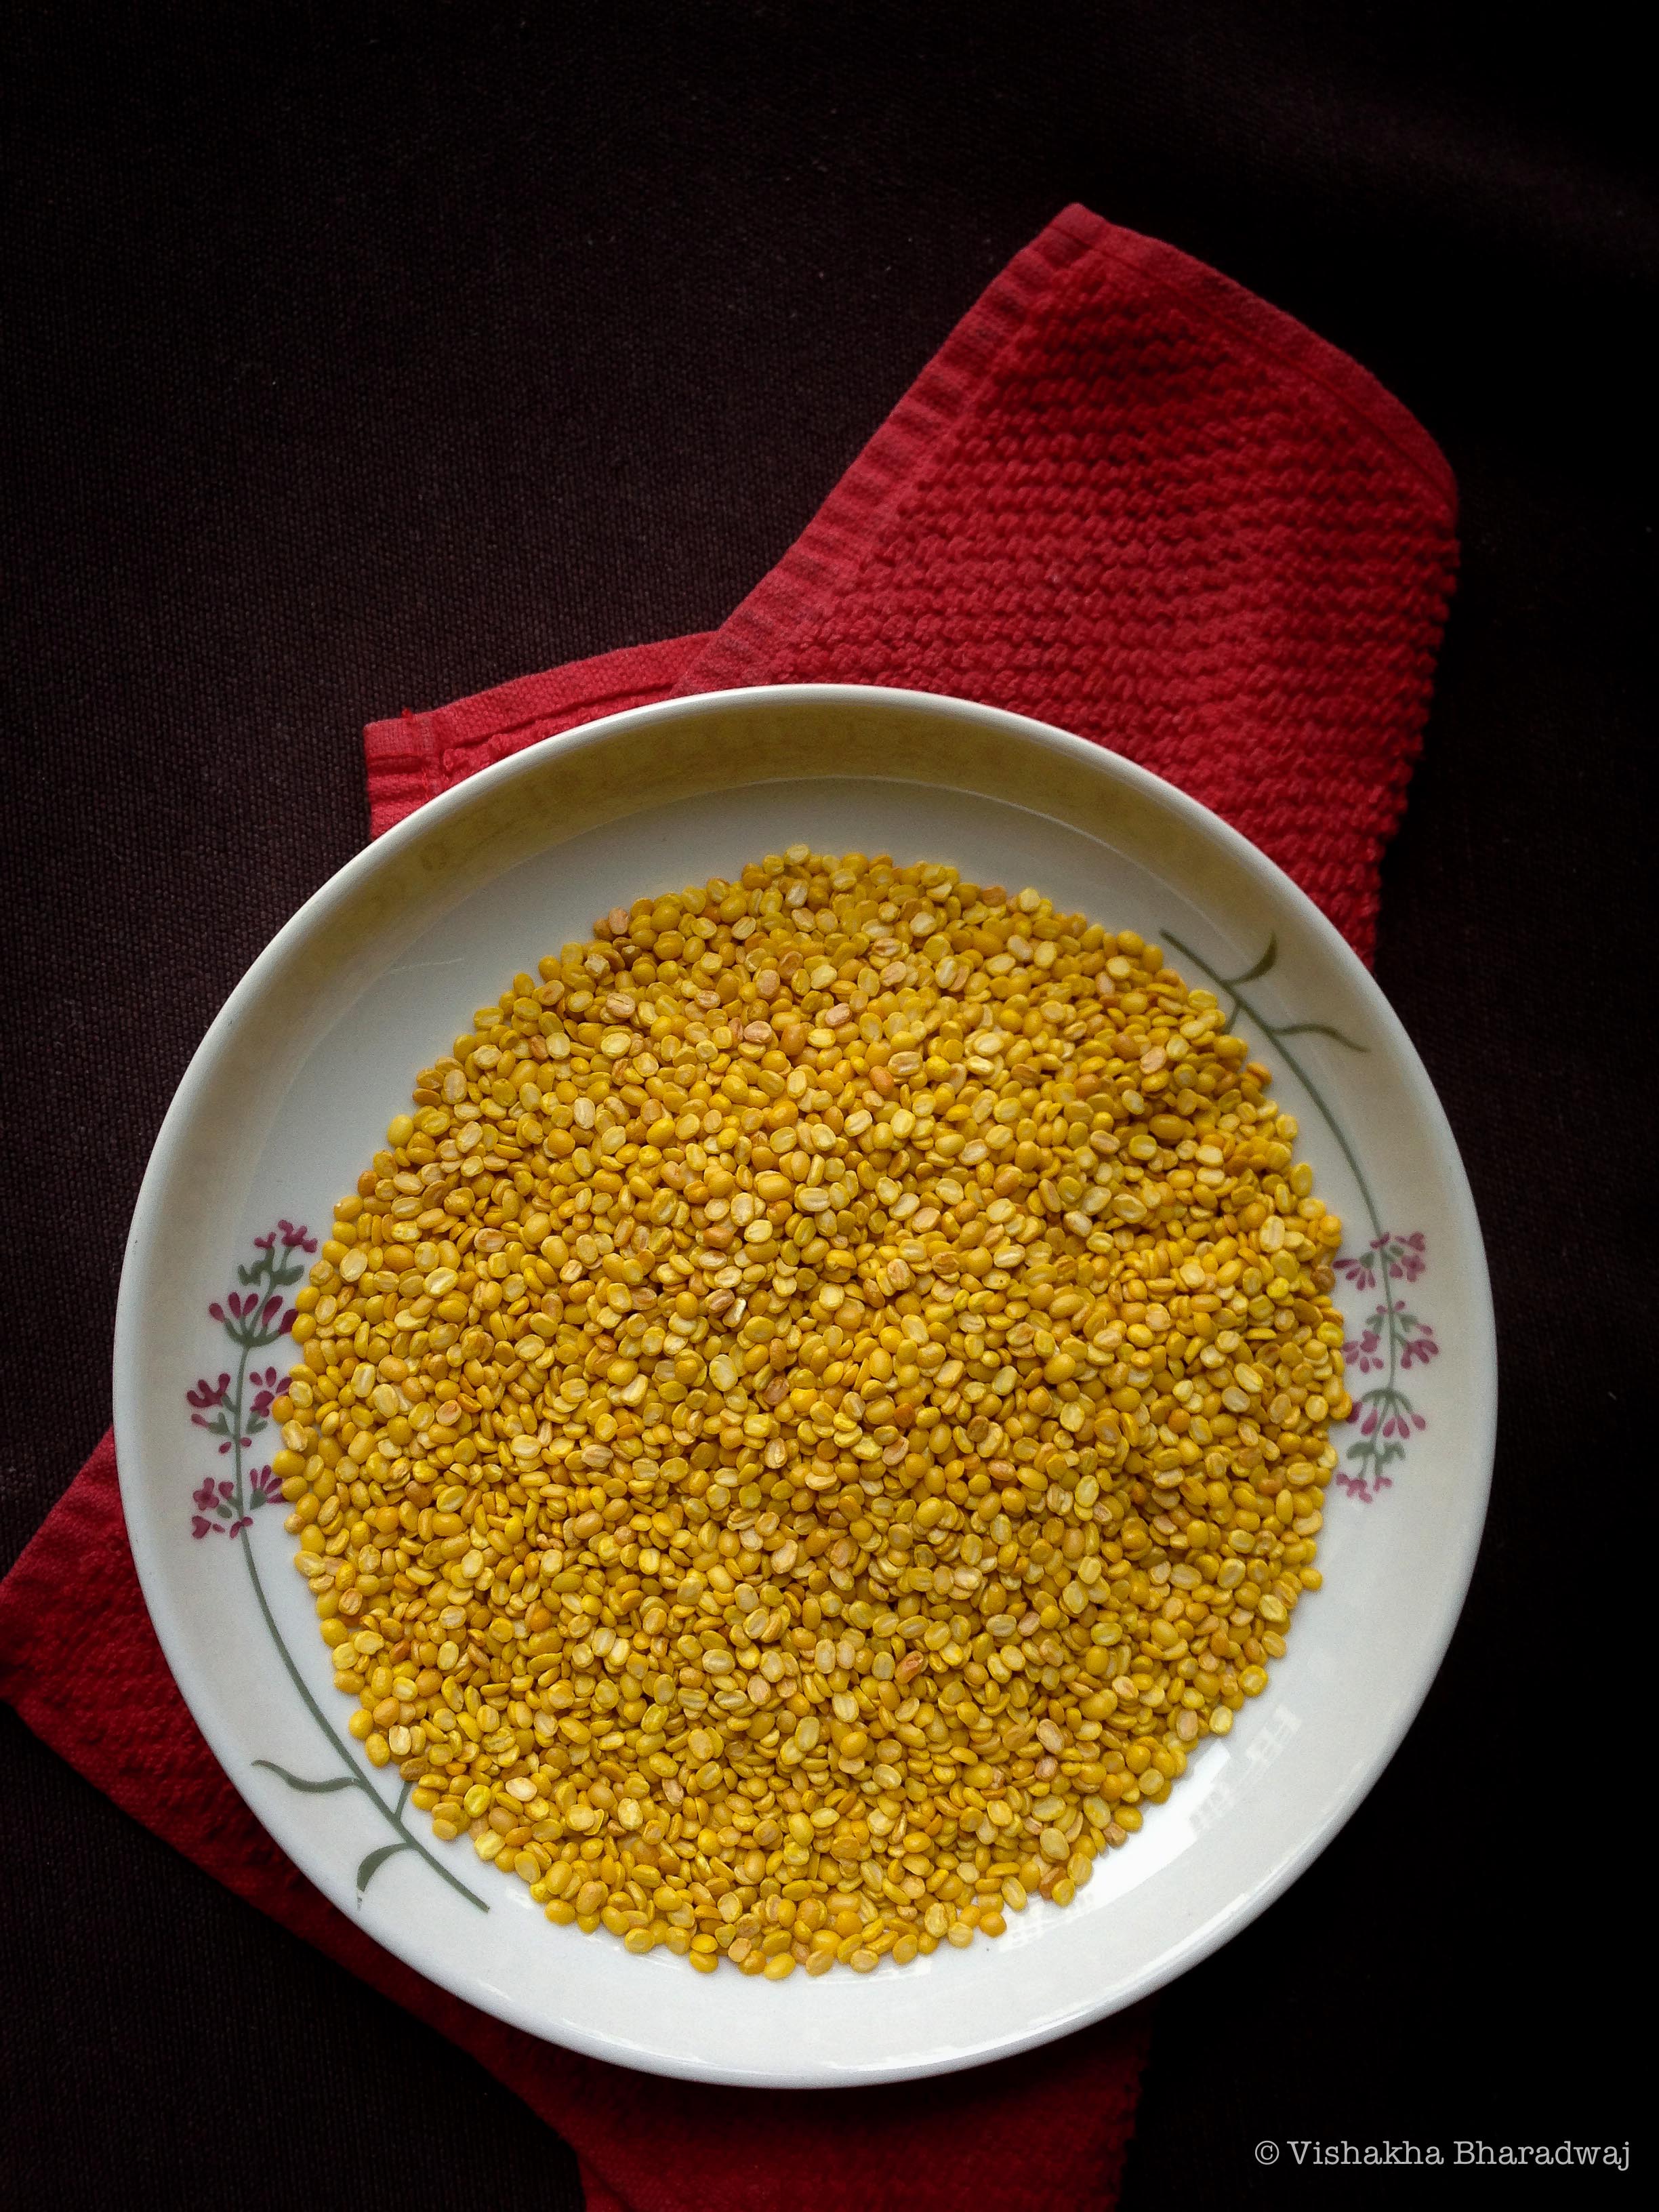
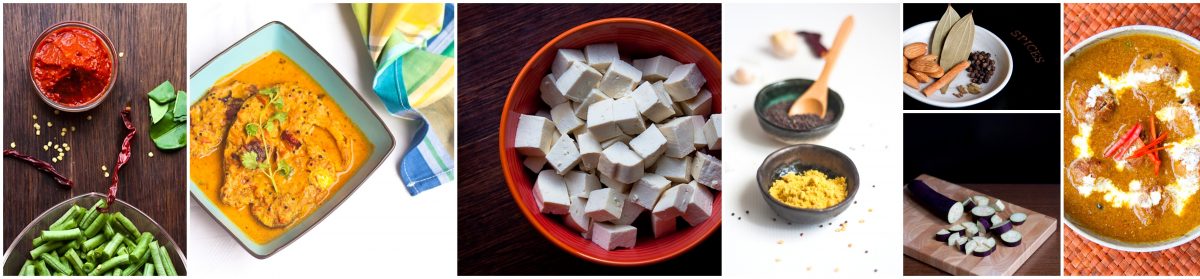
You may find it strange that I call this Ghugni and the picture shows dried black chickpeas. This is Ghugni as it is known in Bihar. It is different from the Ghugni I have posted previously. The previous one is made using dried peas with tamarind as the souring agent. This one is  made using dried Black Chickpeas or Sookha Kaala Chana, simply known as kaala chana. Besides using different key ingredients, the two ghugnis are meant for the same purpose: snack / street food. However, they differ in their taste, texture as well as method of preparation.

IMG_7838

IMG_7850

Ma prepares for this Ghugni the night before. She soaks a generous amount of the Kaala Chana in water. The next morning she pressure cooks these soaked dried chickpeas with some salt. These cooked chickpeas are then ready to be cooked in some spices to make it into what is known in Bihar as “Ghugni”. This version of ghugni is usually had with some “chooda ka bhuja” or roasted/fried and spiced flattened rice (poha / chooda / chidva).

The good news is that Kala Chana has a number of health benefits. They are high in dietary fibre. They serve as a good source of proteins for vegetarians. Therefore, this is one of those snacks where you can eat as much, almost guilt free.

IMG_7831

I find the Ghugni self sufficient as a snack. It definitely tastes much better the following day as the spices get sufficient time to infuse their flavours with the cooked chickpeas. It becomes a little dry with time so before serving, you will need to add some warm water and adjust the seasoning in order to suit your taste.

IMG_7844

Bihari Ghugni Recipe: To print the recipe, click here.

Serves: 3-4
Preparation time: 8 hours soaking + 15 mins preparation [Mis en Place]
Cooking time: Up to 1.5 hours including boiling the chickpeas.
A healthy vegetarian snack though it does require a little bit of advance planning.

Ingredients:

Black dried Chickpeas [Sookha Kaala Chana]: 1 cup
Ginger: 1 medium slice for boiling and 1 tbsp finely chopped for the masala
Garlic: 1 tbsp, finely chopped
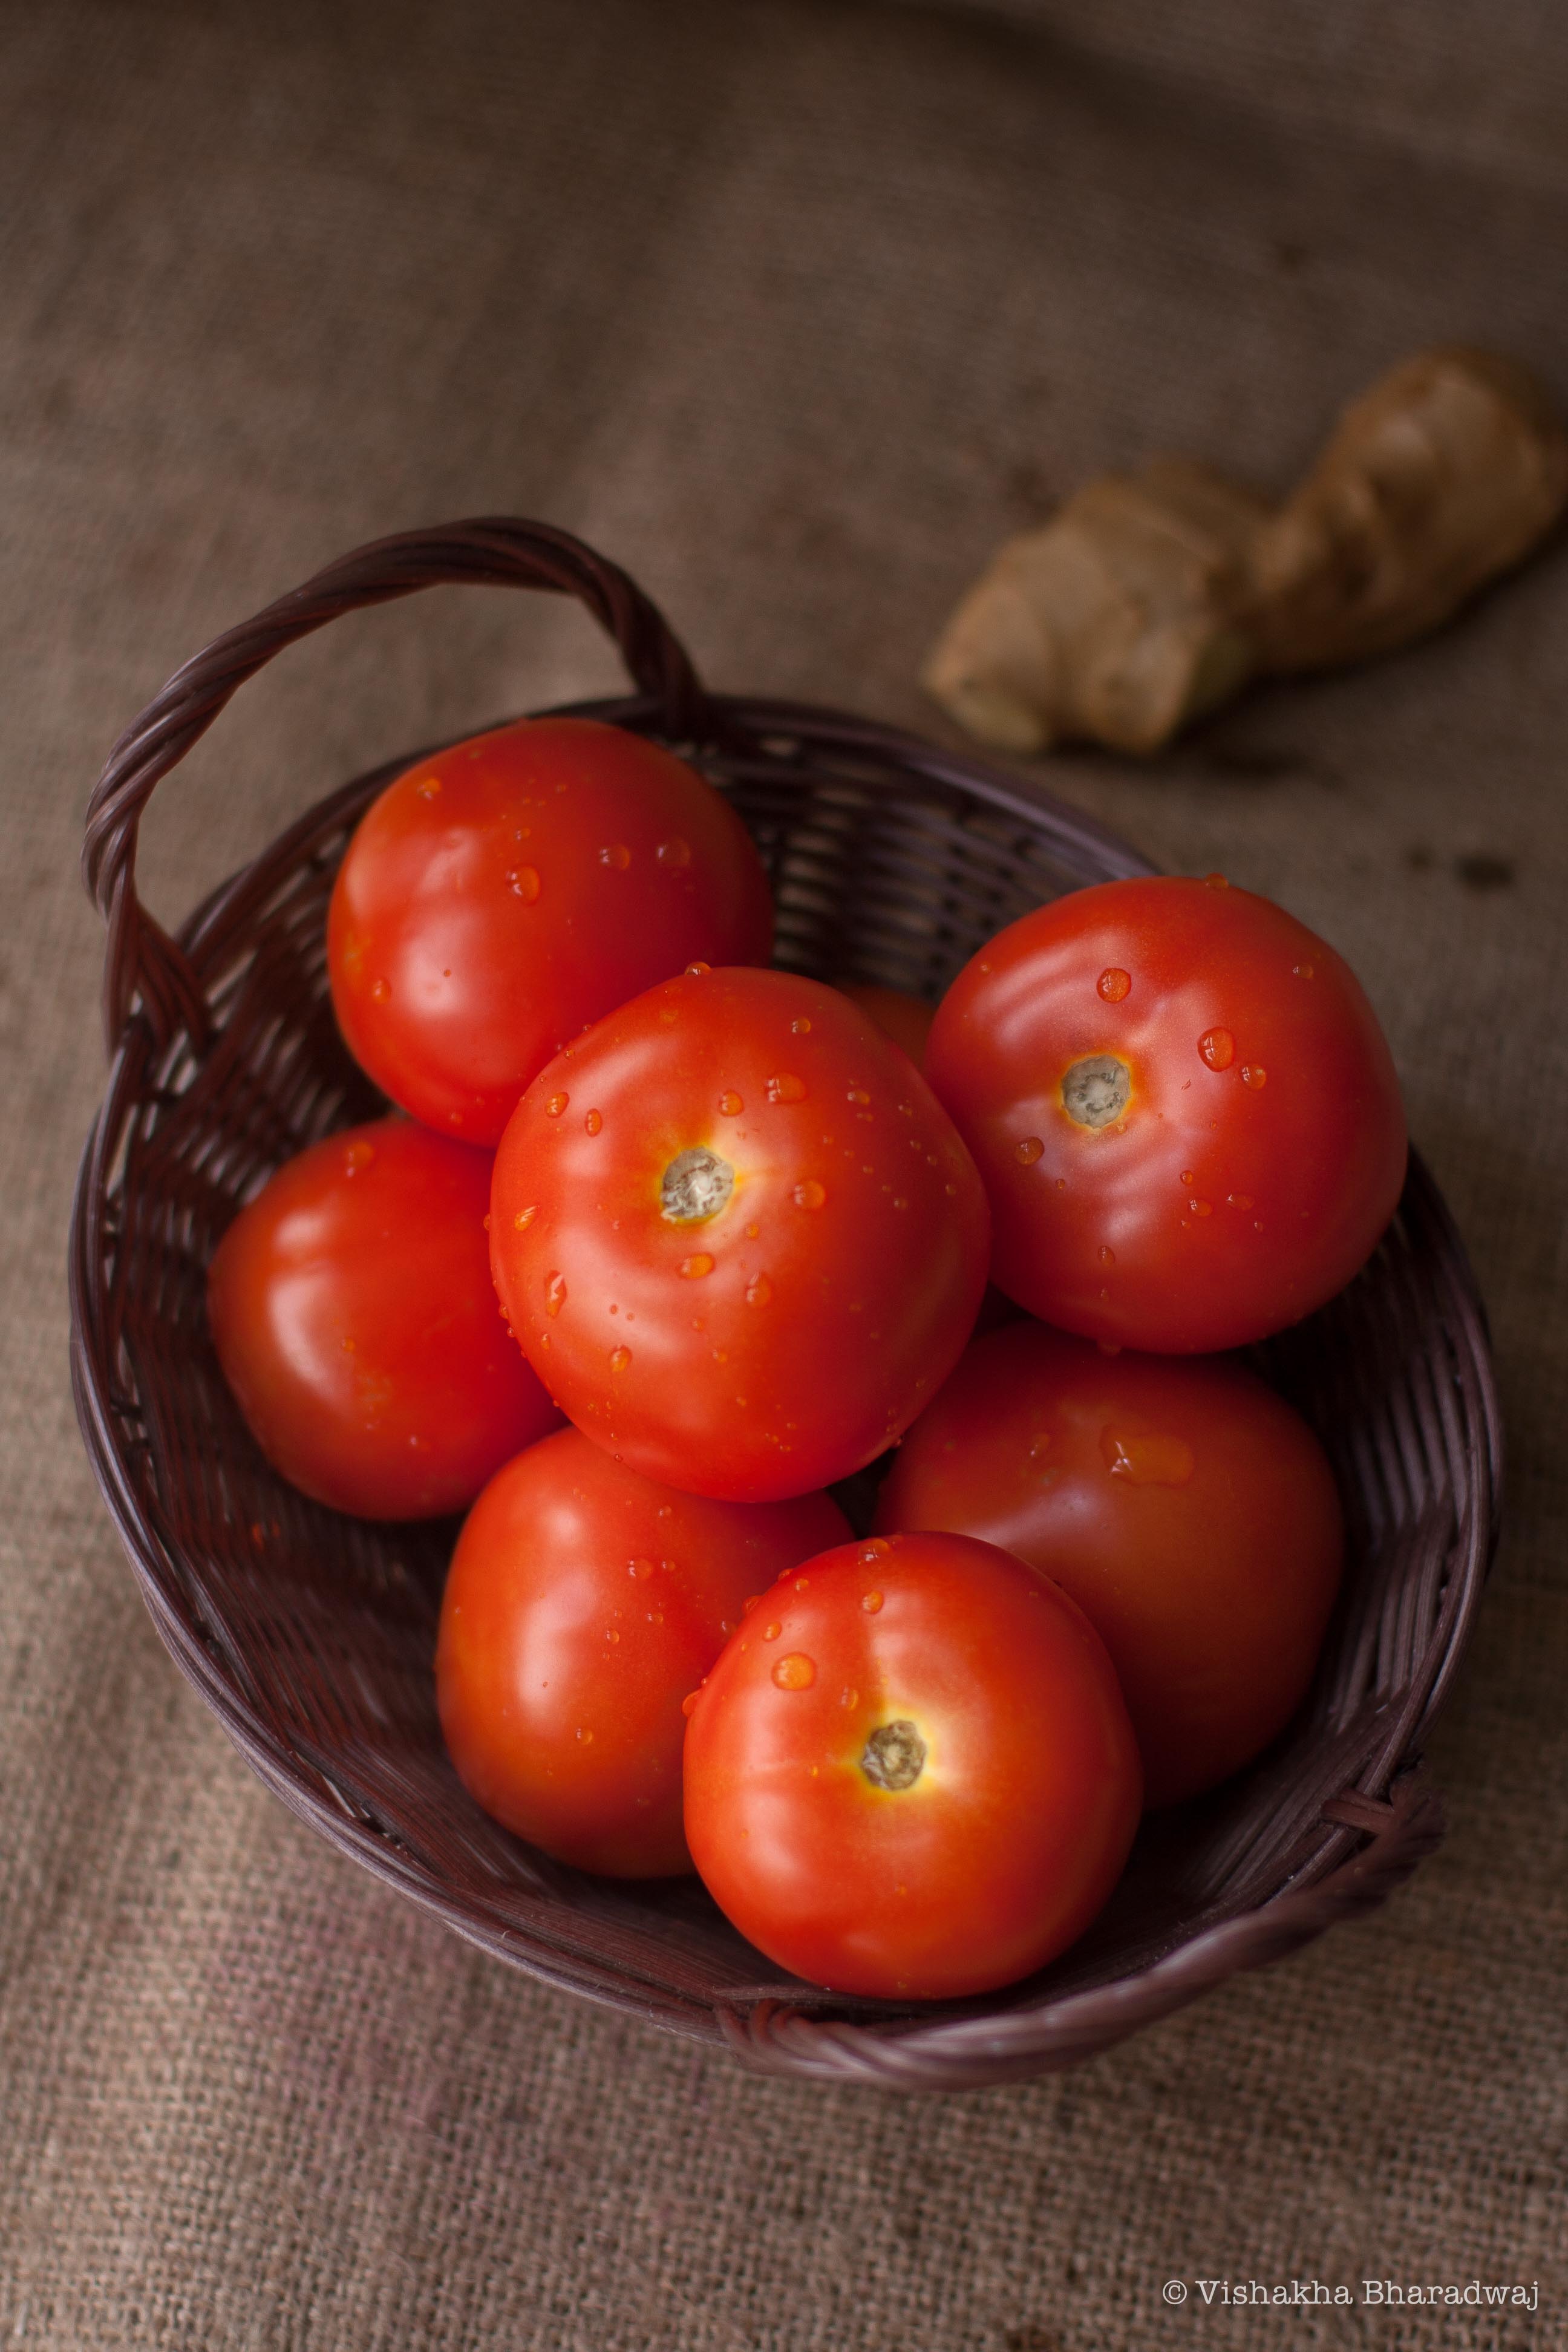
Onion: 1 cup finely chopped
Oil: 1 ½ tbsp. [I used Mustard oil as that is used traditionally and I like it’s pungent smell and taste. You can use your regular cooking oil if you prefer]
Cumin seeds: 1/2 tsp
Cinnamon stick: 1 inch,
Bay leaf (dried): 1, medium sized
Dried red chilli: 1-2 (as per your tolerance).
Red onion: 1 cup, finely chopped
Dry Mango powder (Aamchoor): 2 ½ tsp

Ingredients for the spice paste:

Turmeric powder: 1/8 tsp or a generous pinch
Chilli powder: ½ tsp
Coriander powder: 1 tbsp
Cumin powder: 1 ½ tsp
Water: 2 tbsp

Ingredients for garnishing:

Onions: 1, finely chopped
Green chillies: 4-5, finely chopped
Lime: 1-2, cut anyway to squeeze the juice on the cooked ghugni.

How I did it:

  1. Wash and soak the Sookha Kaala Chana overnight or for about 8 hours in water.
  2. Wash it again. In a pressure cooker, add the Kaala chana, sufficient water making to cover the chickpeas as well as extra to make sure there is enough room for the chickpeas to expand in volume, a pinch of salt & a slice of ginger. Start the pressure cooker on high heat. After the steam builds up [first whistle], lower the heat to cook for another 15 mins. If using an open pot, make sure the chickpeas are cooked through – You should be able to crush them if you press them between two fingers. They should retain their shape and not be mushy at all. Allow the steam to release on it’s own. Discard the slice of ginger. Strain the mix, reserving the liquid for cooking.
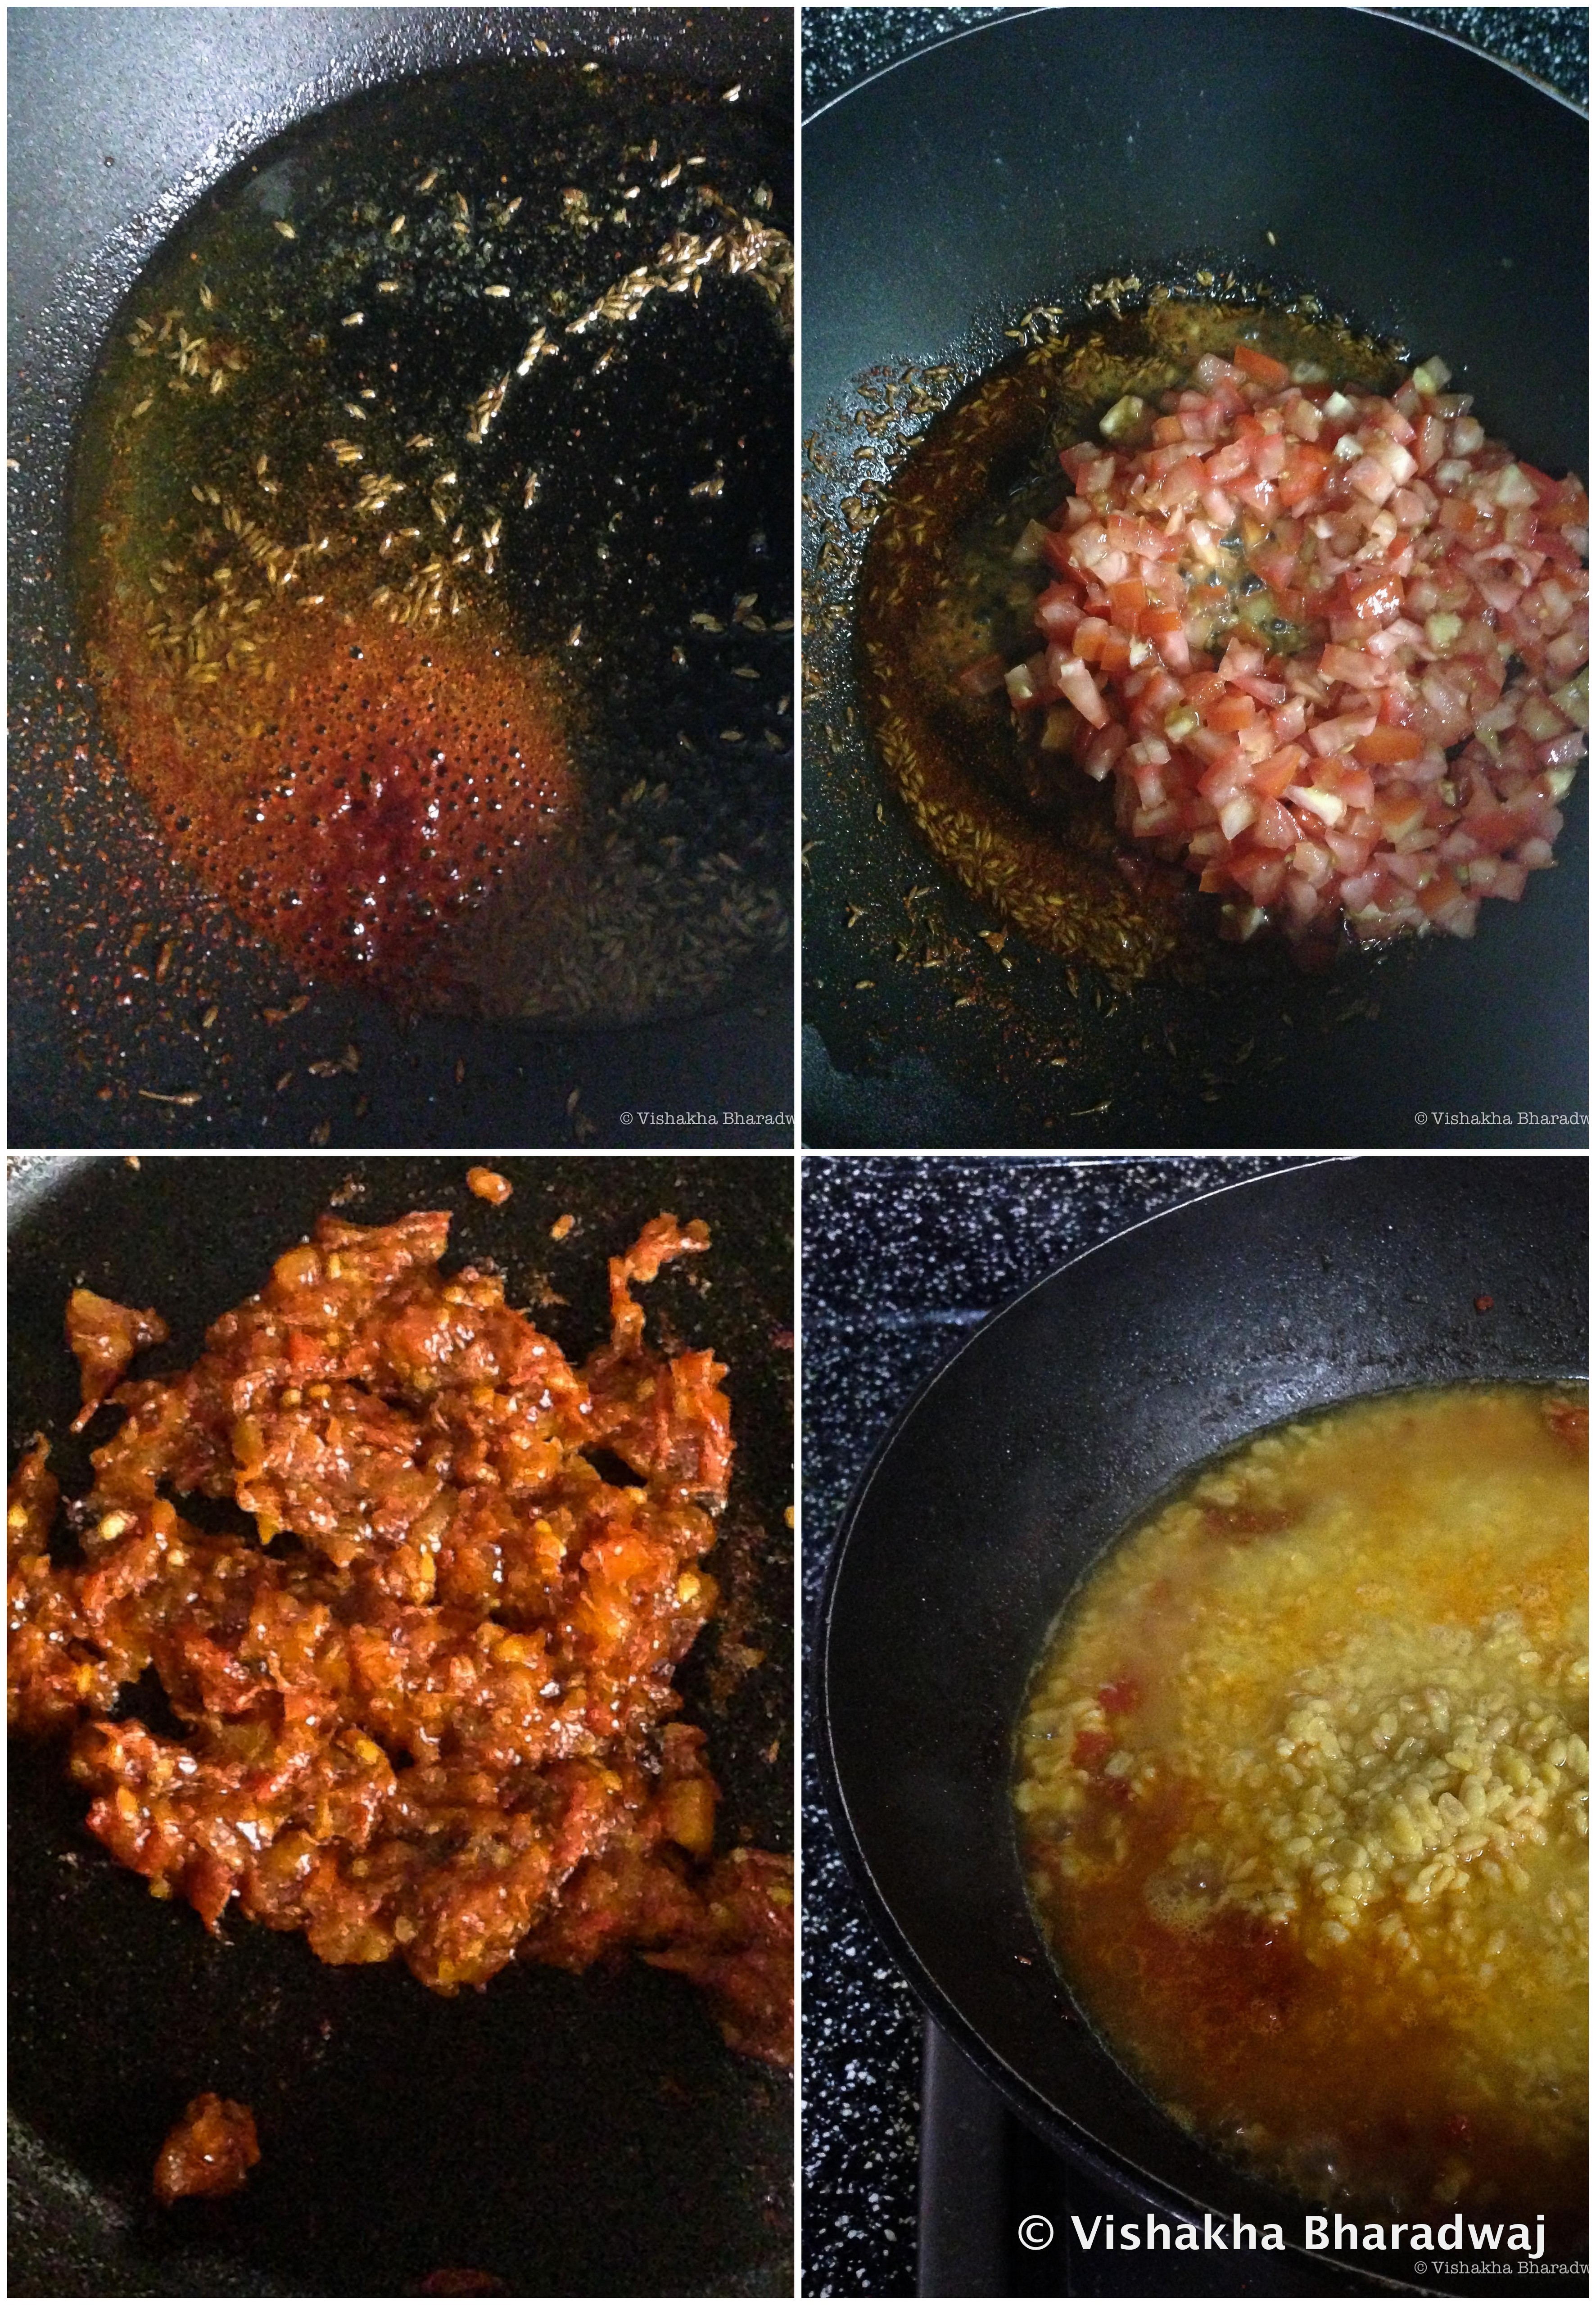
  3. In a deep bottomed pot or a wok / Kadhai, heat 1 tbsp mustard oil. Bring it to a smoking point, and then let it cool down. If using regular oil, simply heat the oil and move on to the next additions. Add cumin seeds, dry red chilli, cinnamon stick and bay leaf. Let the aroma release in the oil. Reduce heat if necessary, making sure the spices do not burn.
  4. Next, add the finely chopped ginger and garlic. Fry for about 2 mins on low heat.
  5. Add the finely chopped onions and a pinch of salt to season the masala. Fry on low-medium heat stirring continuously for about 7-8 mins until almost done. This is also called bhuno, a term used in Indian cooking which means to cook the spices slowly to ensure the maximum flavours are released and the raw smell from the spices and ingredients no longer exists. Doing this step right is essential to maximise the flavour of any dish.
  6. While the onions are frying, mix together all the ingredients listed under ‘Spice Mix’ and add next.
  7. Continue to cook the masala for another 2-3 mins until there is no raw smell of any masala.
  8. Next add dry mango powder (aamchoor) & the drained and boiled Kaala Chana
  9. Increase heat to high and continue to stir making sure the masala sticks to the kaala chana.
  10. Keep adding 2-3 ladles of the reserved boiling liquid and continue cooking on low-medium heat until the liquid is absorbed by the Chana. The liquid additions should be enough to make sure the Chana has some extra liquid. The idea is to slowly infuse all the flavour from the liquid into the Chana while cooking the spices.
  11. Repeat this process until all or most of the liquid is used up. Remember that the cooking liquid already contains salt. Taste often to adjust the salt if needed.
  12. If serving later, heat up the chana, adding a little water to make it moist. We don’t want this to be too dry. If adding water, adjust the level of salt.
  13. Serve in bowls or a plate, garnished with chopped onions, green chillies and lime. Traditionally, this is served with chooda ka bhooja or lightly spiced and roasted beaten rice. I find this tastes great on it’s own too.

Black Chana Ghugni

Notes:

  • Chop the ingredients for garnishing just before serving. The freshness of the onions, green chilli and lime will elevate your snack to another level.
  • I spend a lot of time cooking this ghugni slowly. It helps to infuse flavours to these chickpeas and I find it totally worth the time and effort.

IMG_7843

Advertisement

The simple things in life: Mung Dal [no onion-no garlic]


IMG_7686


When life begins to feel complicated, I take a moment to reflect on the meaning of happiness and what it is for me. Is it really a bigger house, more money, an expensive bag or things like that? Yes, I would be lying if I said these things didn’t make me feel good at all. It does, but for that moment and may be a few days more. The only problem is if I continue to seek happiness in such things, my definition of happiness will keep getting complex.. and there’s really no end to it. There is always a want for more… and more. Nothing wrong with it but I find it important to take a moment, think back and put things in perspective.

It’s always the simple things in life that gives me true happiness. I am sure it’s the same for you too. In my quest for happiness, I listed a few things (not in any particular order) that make me truly happy:
A hug from my 4 year old child
Being a Mom
A good cup of ginger tea (chai) early in the morning
An unknown, probably insignificant, little flower my child picked up from the roadside. Just for me.
A conversation with my closest friends
A breath of fresh air
Soaking the sun rays
Companionship
Recalling childhood memories
A simple home made meal: Dal-Chawal

IMG_7696

Dal-Chawal or Lentils-Rice. A combination which is a staple in India. It may be in different variations depending on which part of India or which home it has been cooked, but essentially it is lentils or Dal and Rice.

Every time I travel, I immerse myself in the food and culture of that place. It’s an unspoken rule that we never order Indian food when traveling [outside of India]. However, when I come back home, the first meal cooked, without fail, is a very simple Dal-Chawal.

I wouldn’t even want to call this a recipe considering this is such a staple in Indian households. I still choose to write the method down as every home has their unique way of cooking lentils. Dal is cooked in a lot of Indian homes, almost every day. And that is also the reason, why one gets bored of eating it ever so often. In order to bring variety to Dal, I like to rotate the kind of lentils I cook. My pantry is stocked with some 7 different types of lentils/beans. I don’t cook Dal all 7 days a week but it definitely finds it’s way to our dining table at least 3 to 4 times a week in various forms.

IMG_7680

This preparation is quite simple – No onions, No garlic. A simple Dal flavoured with cumin seeds, asafetida and tomatoes. The cumin seeds, asafetida and tomato are the main players in this act. Asafetida gives it a pungent taste and tomatoes add a mild sour flavour to the Dal. It’s a little tough to tell which one is more dominating – the asafetida or the tomatoes, but together, they rule the otherwise modest Mung beans.

IMG_7685

The process of making this Dal is two fold. Part one involves roasting the Mung beans and then softening the beans while infusing it with some fresh ginger. Part two is the tadka or tempering that will add the flavours to the Mung. The tempering is done in ghee or clarified butter with cumin seeds, asafetida, finely chopped (or grated) tomatoes and some Kashmiri chilli powder for a mild spicy touch.

IMG_5770

I am also sending this recipe to Aparna of My Diverse Kitchen for the 61st edition of MLLA. My Legume Love Affair (MLLA) was started by Susan of the Well-Seasoned Cook and is now being carried forward by Lisa of Lisa’s Kitchen.

Mung Dal with Asafetida and Tomatoes (no onion-no garlic)
Serves: 3-4
Time: 30 mins

Ingredients:
Yellow Mung beans / dal / lentils: ¾ cup
Asafetida (hing): ½ tsp
Cumin seeds: 1 tsp
Tomatoes: 2 medium sized (about 1 + ¼ cup of finely chopped)
Kashmiri Chilli powder: ½ tsp
Ginger (grated): 1 tsp
Turmeric: 1/8 tsp or roughly a big pinch
Salt: to taste
Water: 2 cups
Ghee: 1 tbsp

IMG_7679

Method:

  1. Dry roast the Mung beans. I do this in a pressure cooker to avoid getting too many utensils dirty. Keep stirring the beans constantly to ensure they are evenly roasted. I did this on medium heat for about 5-6 mins. When roasted, take it off the heat. Rinse with water 2-3 times.
  2. In a pressure cooker, add the rinsed Mung beans, 2 cups of water, a pinch of turmeric, ginger and salt. Cook the beans until soft while still retaining their texture. If you are using a pressure cooker, let the steam build up on high flame. Then lower the flame and let it cook for another 5 minutes until done.
  3. While the Mung beans are getting cooked, heat ghee in a pan. Add cumin seeds. When they are done, add the asafetida and chilli powder. Let it cook for a few seconds. Then add the chopped tomatoes and a pinch of salt. With the heat on high, cook the tomatoes constantly stirring it to ensure they are not burnt and until the raw smell no longer exists.
  4. When the tomatoes are cooked, reduce the flame. Add the Mung beans. Add water to a consistency you want and adjust the salt as per your taste. If you want to add chillies, add 2-3 slit chillies (a combination of green and red adds a nice colour.. You can add just green too and skip the drama). Let it come to a boil on high heat and then simmer for 3 minutes.
  5. Garnish with coriander leaves and serve hot with rice and any vegetables of your choice.

2013-07-30

Dal Makhani / Ma ki Dal / Creamy Black Lentils

Black Lentils, Ma ki Dal, Dal Makhani, Kaali Dal or Urad Dal with skin – This Dal as you can tell has so many different names and that probably only indicates how widely loved and popular it is!

Growing up, this Dal did not hold an important place in my Mother’s pantry. I am not sure why. It isn’t a commonly made Dal in Eastern Indian homes for that matter. It’s associated with “restaurant” food in most Eastern Indian homes. For a long time, I had Ma ki Dal in dhabas and restaurants only.

No surprises here but like many of you, it’s one of my favorite lentils. I almost always never missed an opportunity to have this Dal during my years in Delhi and every possible trip back there. The creamy texture combined with the buttery flavor is enough to make anyone crave for Dal Makhani. It is very sinful and equally desirable due to the generous amount of cream and/or butter that goes in it. I am, not by any means, a health freak but over the years I started getting put off by the amount of butter that was used in it. A number of restaurants put so much butter and cream that you’ll have a tough time tasting any Dal in it. I craved for Dal Makhani without the indulgence.

And so… few years ago, I started my quest to make my own Dal Makhani.

I can completely understand if a lot of you will frown at the lack of lots of butter or cream, but my thought process behind this recipe was the following:

– Make it in a way that my family can have it on a regular day without feeling guilty.
– Make it quick without too much advanced preparation. (Unfortunately, I don’t plan my meals in advance most of the time)
– Keep as much of the creamy texture and taste without going overboard with the cream / butter.

Dal Makhani or Ma ki Dal is usually cooked with a small portion of Rajma (kidney beans). I make both versions of Dal Makhani (with only Black Lentils as well as a combination of Kidney Beans or Rajma & Black Lentils). If you are adding Rajma, replace ¼ cup of the Black Lentils with ¼ cup of Rajma. It tastes great in either combination! However, the use of Rajma requires advance planning and preparation.

Ensure your Rajma is soaked for about 8 hours. Alternatively, soak Rajma for 2-3 hours in hot water and then boil it separately until soft. I used Chitra Rajma (the smaller pale orange colored Rajmas) for cooking as they cook much faster. I soaked them for 8 hours in hot water, then pressure cooked them together with pre-soaked Black Dal for 20 mins. Black Dal was pre-soaked in hot water for 15 mins.

I skipped the Rajma this time as I hadn’t planned it ahead and it was a weekday dinner.

Dal Makhani / Ma ki Dal / Creamy Black Lentils Recipe

To print this recipe, click here.

Serves: 2-3

Ingredients:

Whole Black Lentils / Whole Urad Dal (with skin): ¾ cup [Can be replaced by: ¼ cup Kidney Beans (Rajma) + ½ cup Whole Black Lentils]
Cumin seeds: 1 tsp
Ginger finely chopped: 1 tbsp
Garlic finely chopped: 1 tbsp
Tomato puree: 1 cup (see step 2 below)
Chilli powder: ¼ tsp (or as per taste)
Cooking cream: 2 tbsp for cooking + 1-2 tsp for Garnishing
Kasoori Methi: 1 ½ tsp loosely packed
Garam Masala powder: ¼ tsp
Butter: about 1 tbsp
Salt: to taste

How I did it:

  • Clean and wash the Dal. Soak it covered in hot water for 30 mins.
  • Meanwhile, prepare the Tomato Puree: Put 2 medium sized tomatoes in a pot with sufficient water to almost cover the tomatoes. Bring the water to boil until the skin of the tomatoes starts to break. Remove from water, put in another pot with tap water and a couple of cubes of ice. When the tomatoes cool down, remove the skin. Blend it in a paste without adding any water.  This gave me roughly 1 cup of tomato puree which I needed for this recipe.

  • When the Dal is soaked (i.e. 30 mins later), throw away the water. In a pressure cooker, add the Dal with ¼ tsp of salt and 3 cups water. When the first whistle blows (or steam builds up), cook on low heat for 15 mins. If you are not using a pressure cooker, cover and boil in a pot until the dal becomes soft.
  • Meanwhile, wash the kasoori methi with a little water.  Soak it in ½ cup of hot water for about 10 mins.
  • When the Dal is cooked, let the steam from the pressure cooker come out on its own. If a lot of the liquid has evaporated, add more water. I didn’t have to add any. Now on medium heat and without the lid on, boil the Dal by stirring it continuously and mashing it gently against the pressure cooker wall using the back of your ladle (see pictures below). Keep doing this vigorously for about 8 mins or until the Dal starts to have a creamy texture. This step is important to get a creamy consistency.

  • Heat a heavy bottomed pot or non-stick kadhai. On low heat, add butter. When the butter melts, add the cumin seeds. As they begin to sputter, add the chopped garlic. When it starts to turn brown (Note: this happens very quickly), add the tomato puree, ¼ tsp of salt and the chopped ginger.
  • On medium heat, cook the masala for 6-7 mins. When the masala becomes like a lump, add the chilli powder. Keep stirring to ensure masala doesn’t get burnt. The masala should be done in another 2-3 mins. You will notice the color of the masala become darker and shiny due to the oil that surfaces on it. If the masala starts to stick, sprinkle a little water and scrape it off using the spatula.

  • On low heat, add the above prepared Dal to the pot with the masala. Stir the Dal and the masala well so that there are no lumps of masala and it’s evenly combined.
  • Now add the cooking cream. The color of the Dal will become slightly lighter. Cover and simmer for 10 mins, stirring every 1-2 minutes, gently mashing it with the back of the ladle to help achieve the creamy consistency.
  • Next add the kasoori methi along with the soaked water. Continue to cook for another 5 mins on low heat, stirring in between. By now, the Dal should have become darker in color than what it was when you added the cream.

  • Check for salt. Adjust if needed. Add garam masala powder and give it a good stir. Cook for a further 2-3 mins before turning the heat off. Let it sit for 5 mins to help combine all the flavors. It’s now ready to serve.
  • Garnish with some fresh cream and enjoy with hot Rotis / Parathas / Rice or any bread of your choice and some onions and green chillies on the side.

Notes:

  1. Dal has a tendency to become thick as it is left to cool. You may need to add some hot water (about ¼ cup) and make it warm before serving.
  2. Optional: Add a tbsp of butter just after turning the heat off. Tastes heavenly! I don’t do that usually unless I am feeling particularly ecstatic on a given day! 😉

[UPDATE 7th July, 2012] Sending this Dal Makhani recipe to My Legume Love Affair #49, the popular, legume-centered event that is conceptualized by Susan of The Well-Seasoned Cook. This month’s MLLA is hosted by Simona. Here’s the announcement for July’s MLLA. http://briciole.typepad.com/blog/2012/07/annuncio-legumi-che-passione-numero-49.html.