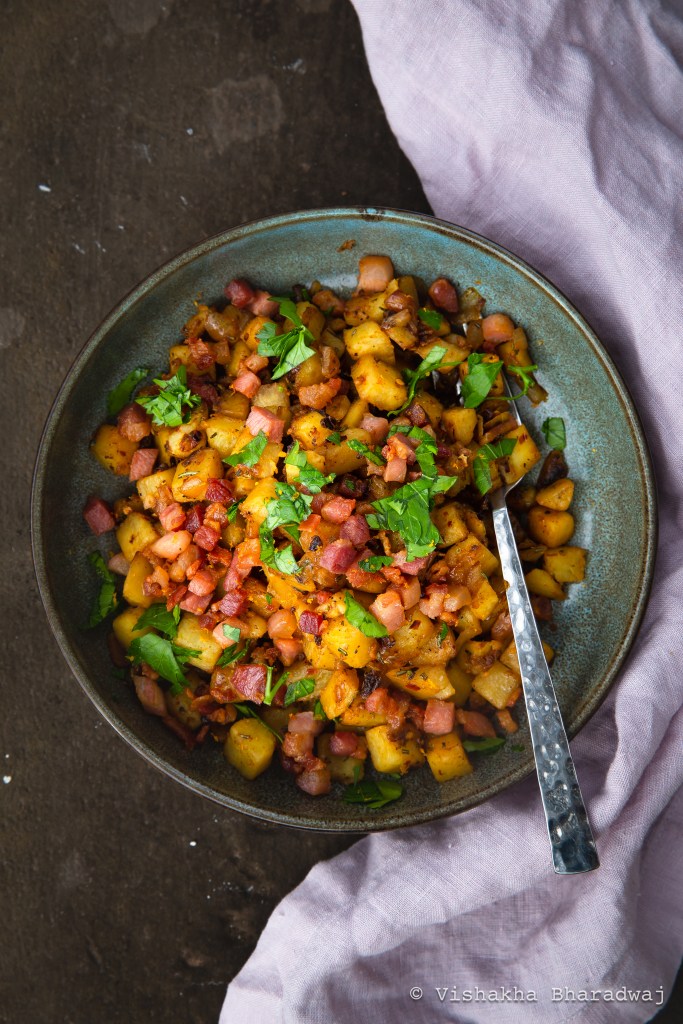
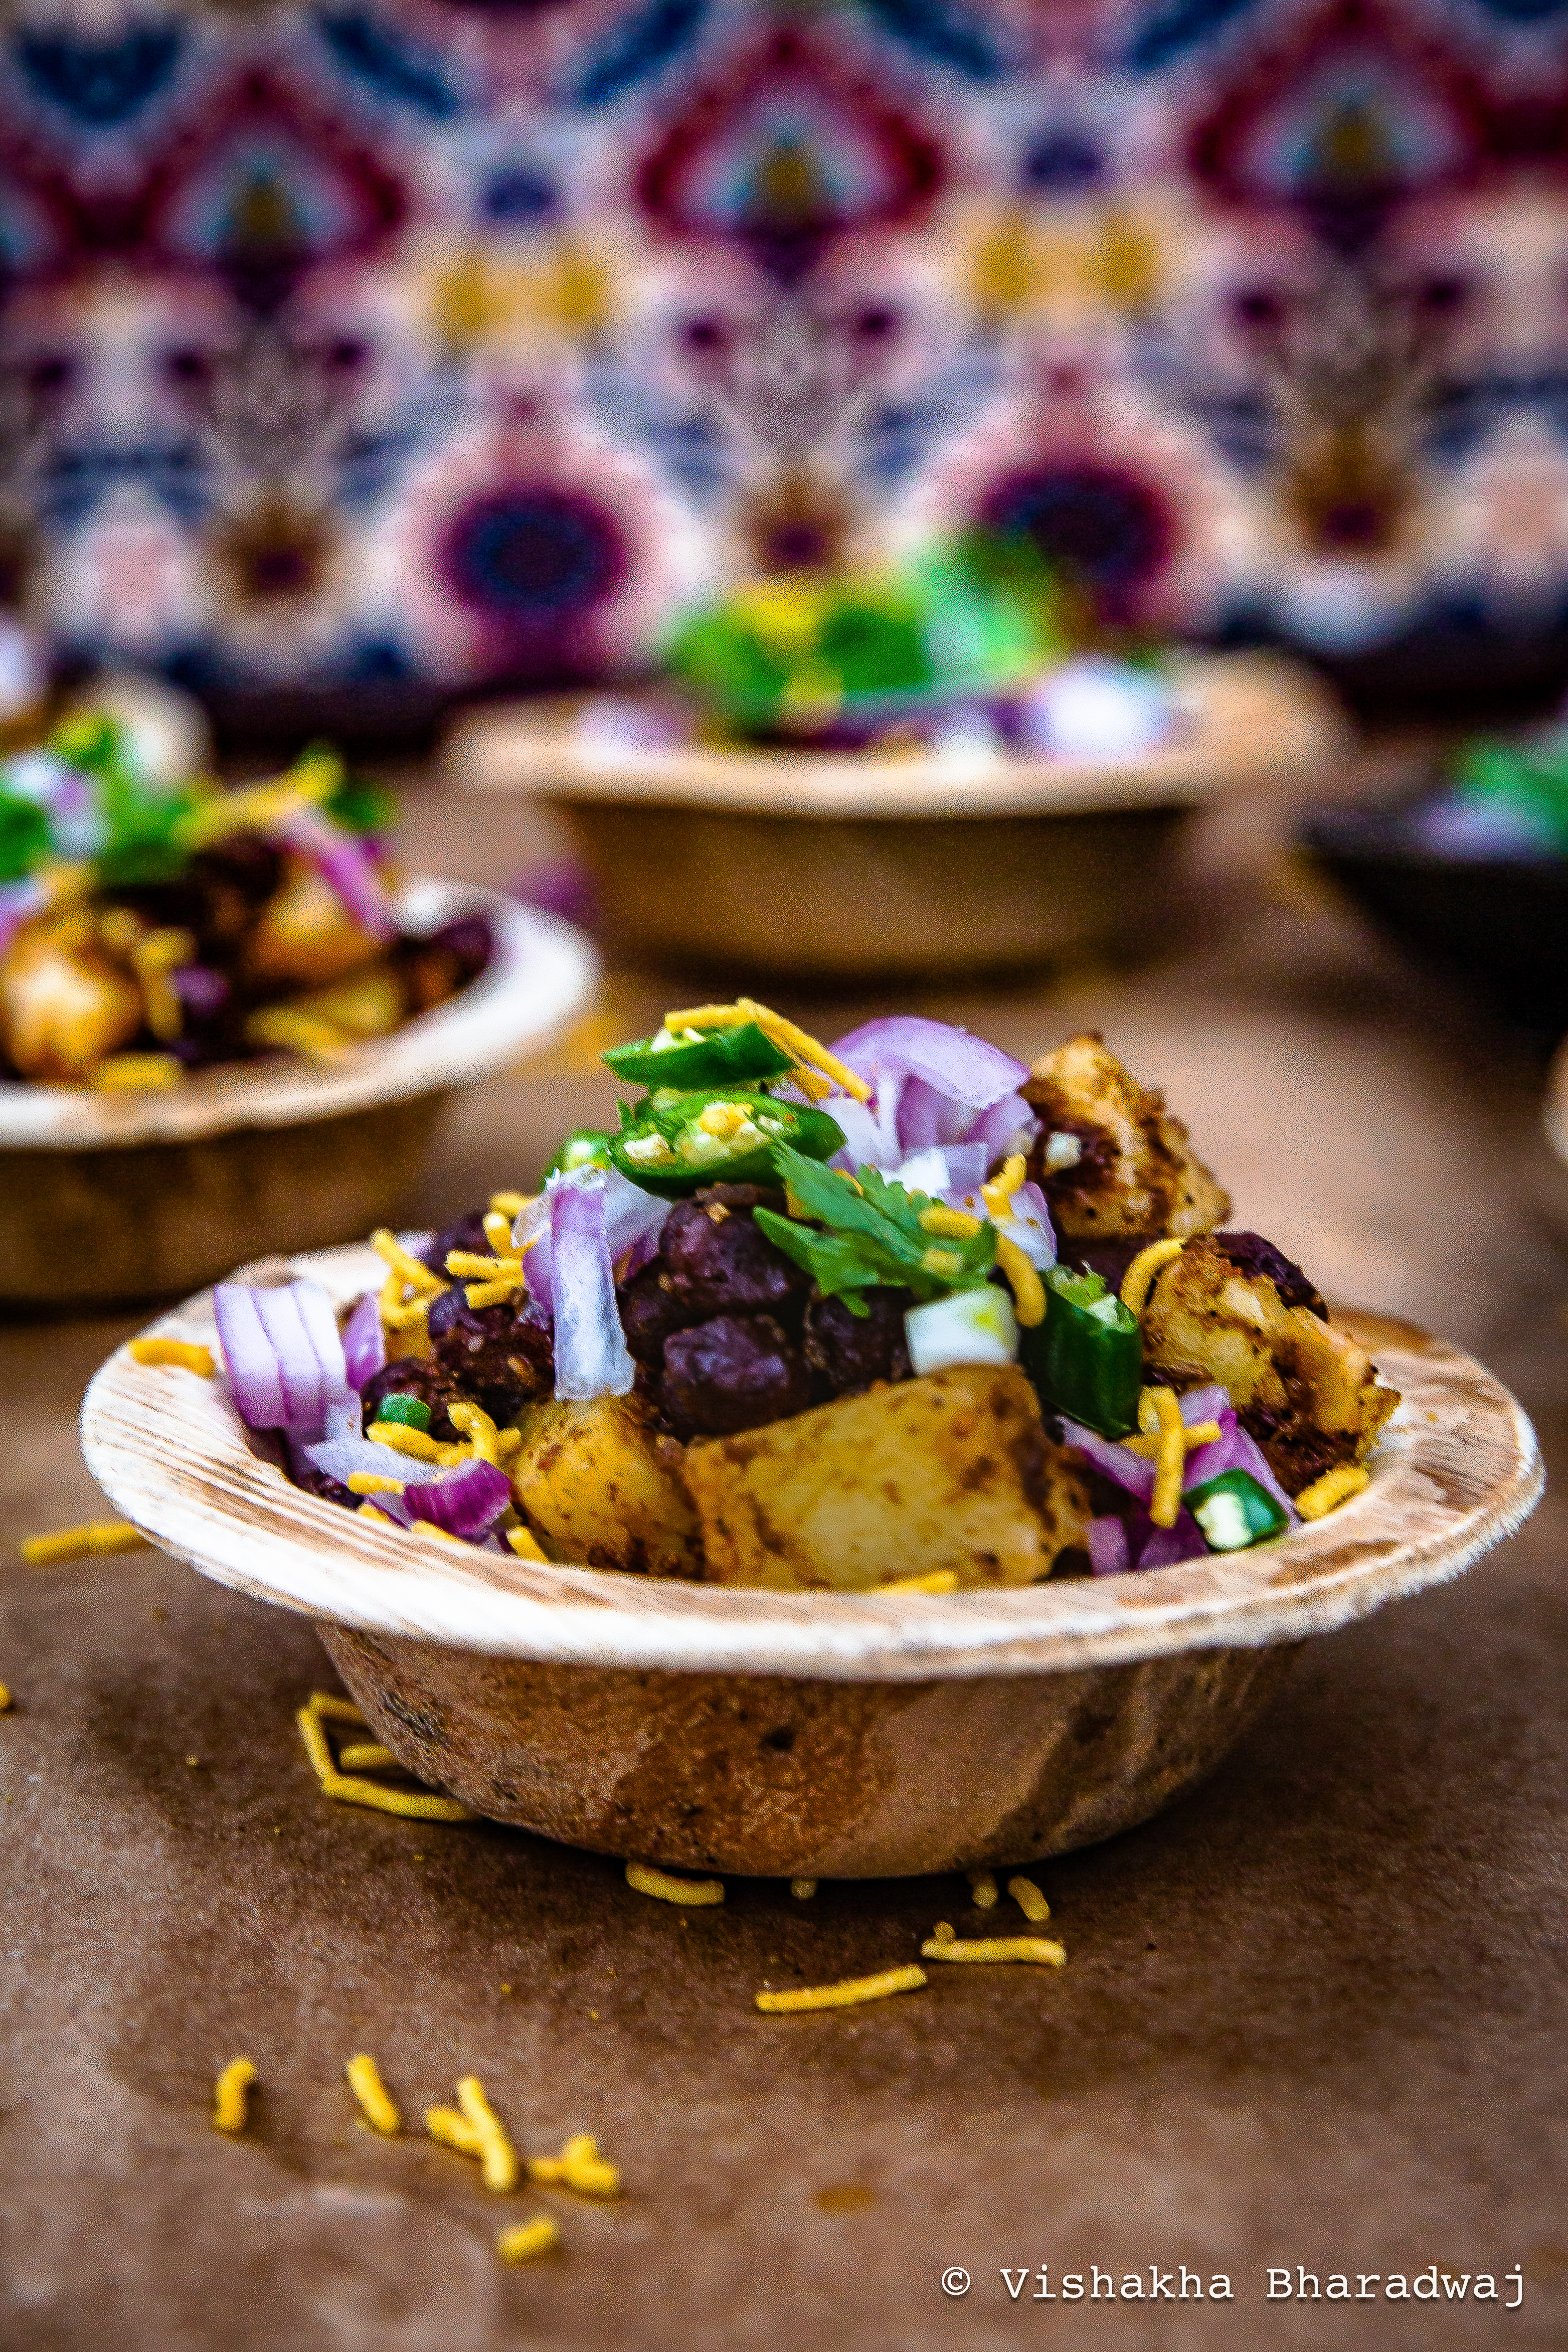
Kaala Chana Chaat (A warm, mildly sweet, tangy, spicy, herby street food of black chickpeas and potatoes)
Today, I shall take you on a nostalgic trip to my country of birth, India.
Where birds sing on roof tops, children joyfully play a game of hop scotch, a street vendor calls out from a distant corner, there is life all around and conversations abundant.
As I prepare myself for my trip to Asia in summer, I cannot help but imagine how things are back in my country of birth. I am also super excited about all the food that I am going to savour.
On this chilly spring evening, this warm chaat and a cup of tea is all I need in my life! The mild tang and sweetness of the dried pomegranates, some heat from the chili powder and fresh green chili peppers, freshly chopped onions, cilantro and the mildly pungent asafetida, the crunch from the sev, instantly takes me back to wander in the streets of India. My sweet neighbourhood. My childhood.
We love our street food and sometimes we try to recreate it at home!
Here’s one that R made one of the weekend afternoons when I was on my downtime! I came drawn to the kitchen with the aroma of all the warm spices he was using.
This is his creation but the only contribution I made was to suggest adding the Anardana powder because I really liked how my friend Dee had used Anardana in one of her Mom’s recipes of Dried Chhole and I’d loved it! So, thank you Dee!:)

For the longest time, R & I just couldn’t be together in the kitchen at the same time. I’ve had fights over how the onions were cut or which variety of okra R picked up from the grocery store! After moving here, he cooks over the weekend and I get fed!
Now, we give each other ideas when we try to create or recreate something. I must add that he has a very well developed and a sensitive palate, and that is a huge help in terms of feedback when trying out new recipes or food! He gives me critical and honest feedback so every recipe that comes to the blog has passed his test, for sure!
This is a great starter for a party, an afternoon snack or a street food themed party, as one can do most of the prep earlier. It’s perfect to serve in the slightly cooler months. However, you can cook this ahead and keep it in the fridge to serve it as a cold for summer.

Recipe for this warm Kaala Chana Chaat (A warm, mildly sweet & tangy, and spicy, herby salad with black chickpeas and potatoes)
Makes: 6-8 servings
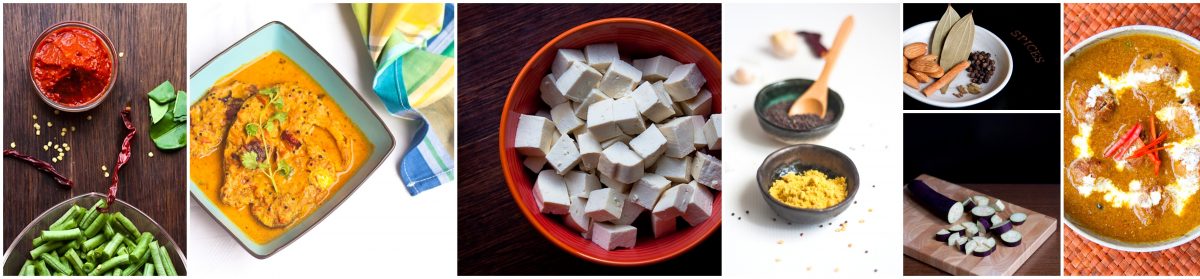
Ingredients:
Mustard Oil: 2 tsp
Asafetida (Hing): ¼ tsp
Ground Dried Pomegranate Powder (Anardana Powder): 2 tsp
Cumin Powder: 2 tsp
Red Chilli Powder: ½ tsp
Salt: To Taste
Ground Pepper: ½ tsp (or to taste)
Boiled Black chickpeas (Boiled Kaala Chana): 2 cups
Diced Boiled Potatoes: 1 cup
Chaat Masala: 1 tsp
Mustard Oil: 2 tsp to add on top
Garnish (Totally customized):
Onions: Chopped, fine (a tbsp per serving or as per your liking)
Green chilli peppers, finely chopped (as you prefer)
Cilantro – a handful, roughly chopped
Lime – a squeeze, or more if you like
Crispy Sev (Chickpea flour) – a tsp or as much as you like
Method:
- Heat 2 tsp of mustard oil.
- While the oil is still getting warm, add Asafetida powder, Ground Anardana, Cumin powder, chilli powder, salt and pepper.
- Stir well, in the oil but ensure they don’t burn (adjust the heat as necessary).
- Add 2 cups of boiled Kala Chana making sure to add very little of the boiling liquid.
- Mix well.
- Continue cooking on medium heat until the spices are uniformly coated and stick to the Black Chickpeas & there’s no liquid left.
- Add the diced, boiled potatoes (1 cup)
- Mix well until it is well coated in all the spices.
- Now add 1 tsp of chaat masala.
- Stir for another min, add 1/2 tbsp of mustard oil and turn off heat.
Serve warm, loading it with garnish as you like!
To Serve:
Scoop a portion of the cooked Chickpeas and Potatoes in a bowl.
Add a tbsp or two of the chopped onions, green chillies (as per taste) and some freshly chopped cilantro. Squeeze a bit of lime. Enjoy!